Photography Tutorial 1: Using Graduated Filters
Practically every image will benefit from some photo manipulation. If you shoot images in RAW format you possibly already use Adobe’s Lightroom. The app has a multitude of other features to explore beyond simple exposure adjustment.
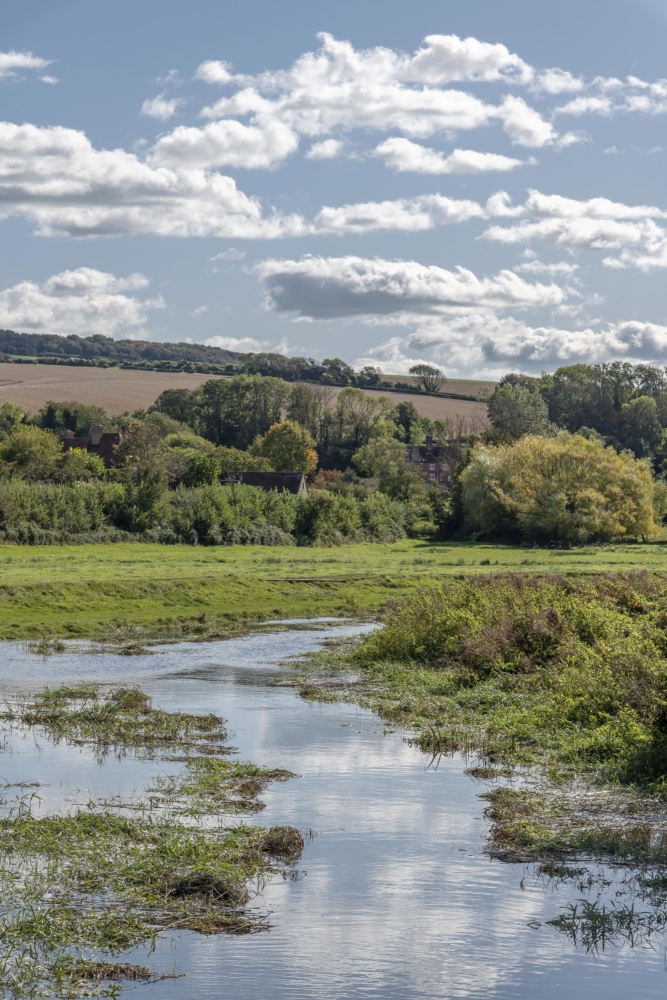
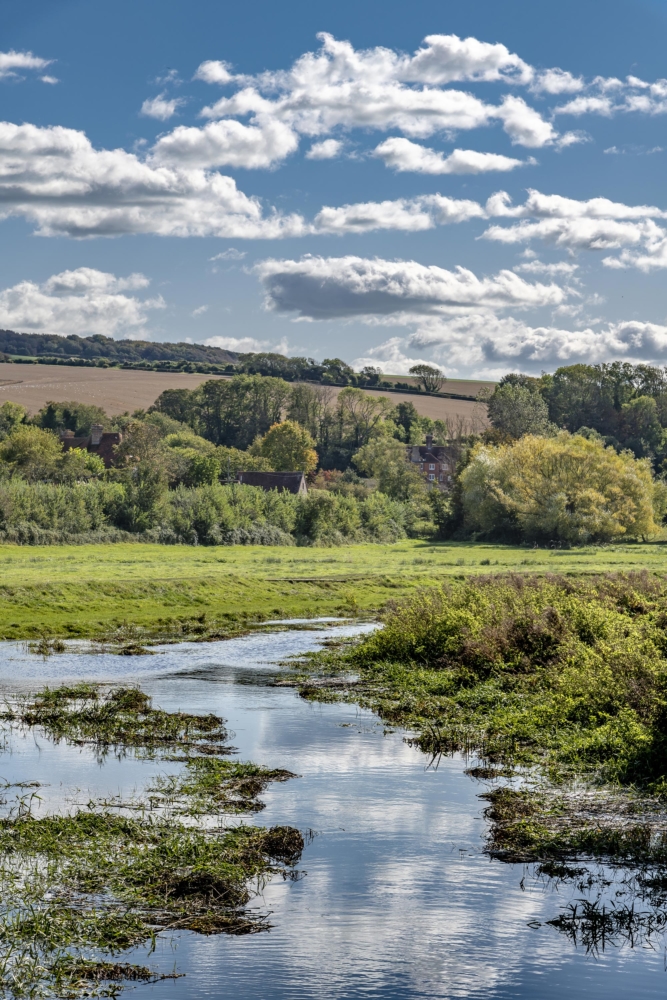
On these pages I have created a series of walk-throughs explaining how my favourite techniques are used. Starting with the before photo, I look at alternative ways of changing it to achieve an alternative enhanced version.
Historically when using a film camera you could use various plastic filters held in front of the lens. Often they would be darker at the top, so that the sky did not appear too bright.
Using digital graduated filters in Adobe Lightroom is the same idea, but much more flexible. The biggest advantage is that they can be used after the photo has been taken. It is possible to vary the strength of the effects, the shape and have multiple graduated filters used on one photograph.
All of these effects are used on RAW images. The camera has to be set to take RAW images rather than JPEGs or TIFFs. The main advantage of using RAW format increases the number of adjustments that can be made.
All my shots are taken in manual rather than auto setting. Intentionally underexposing images makes the colours richer and avoids the possibility of blown highlights – losing their details.
How The Dehaze Filter Works
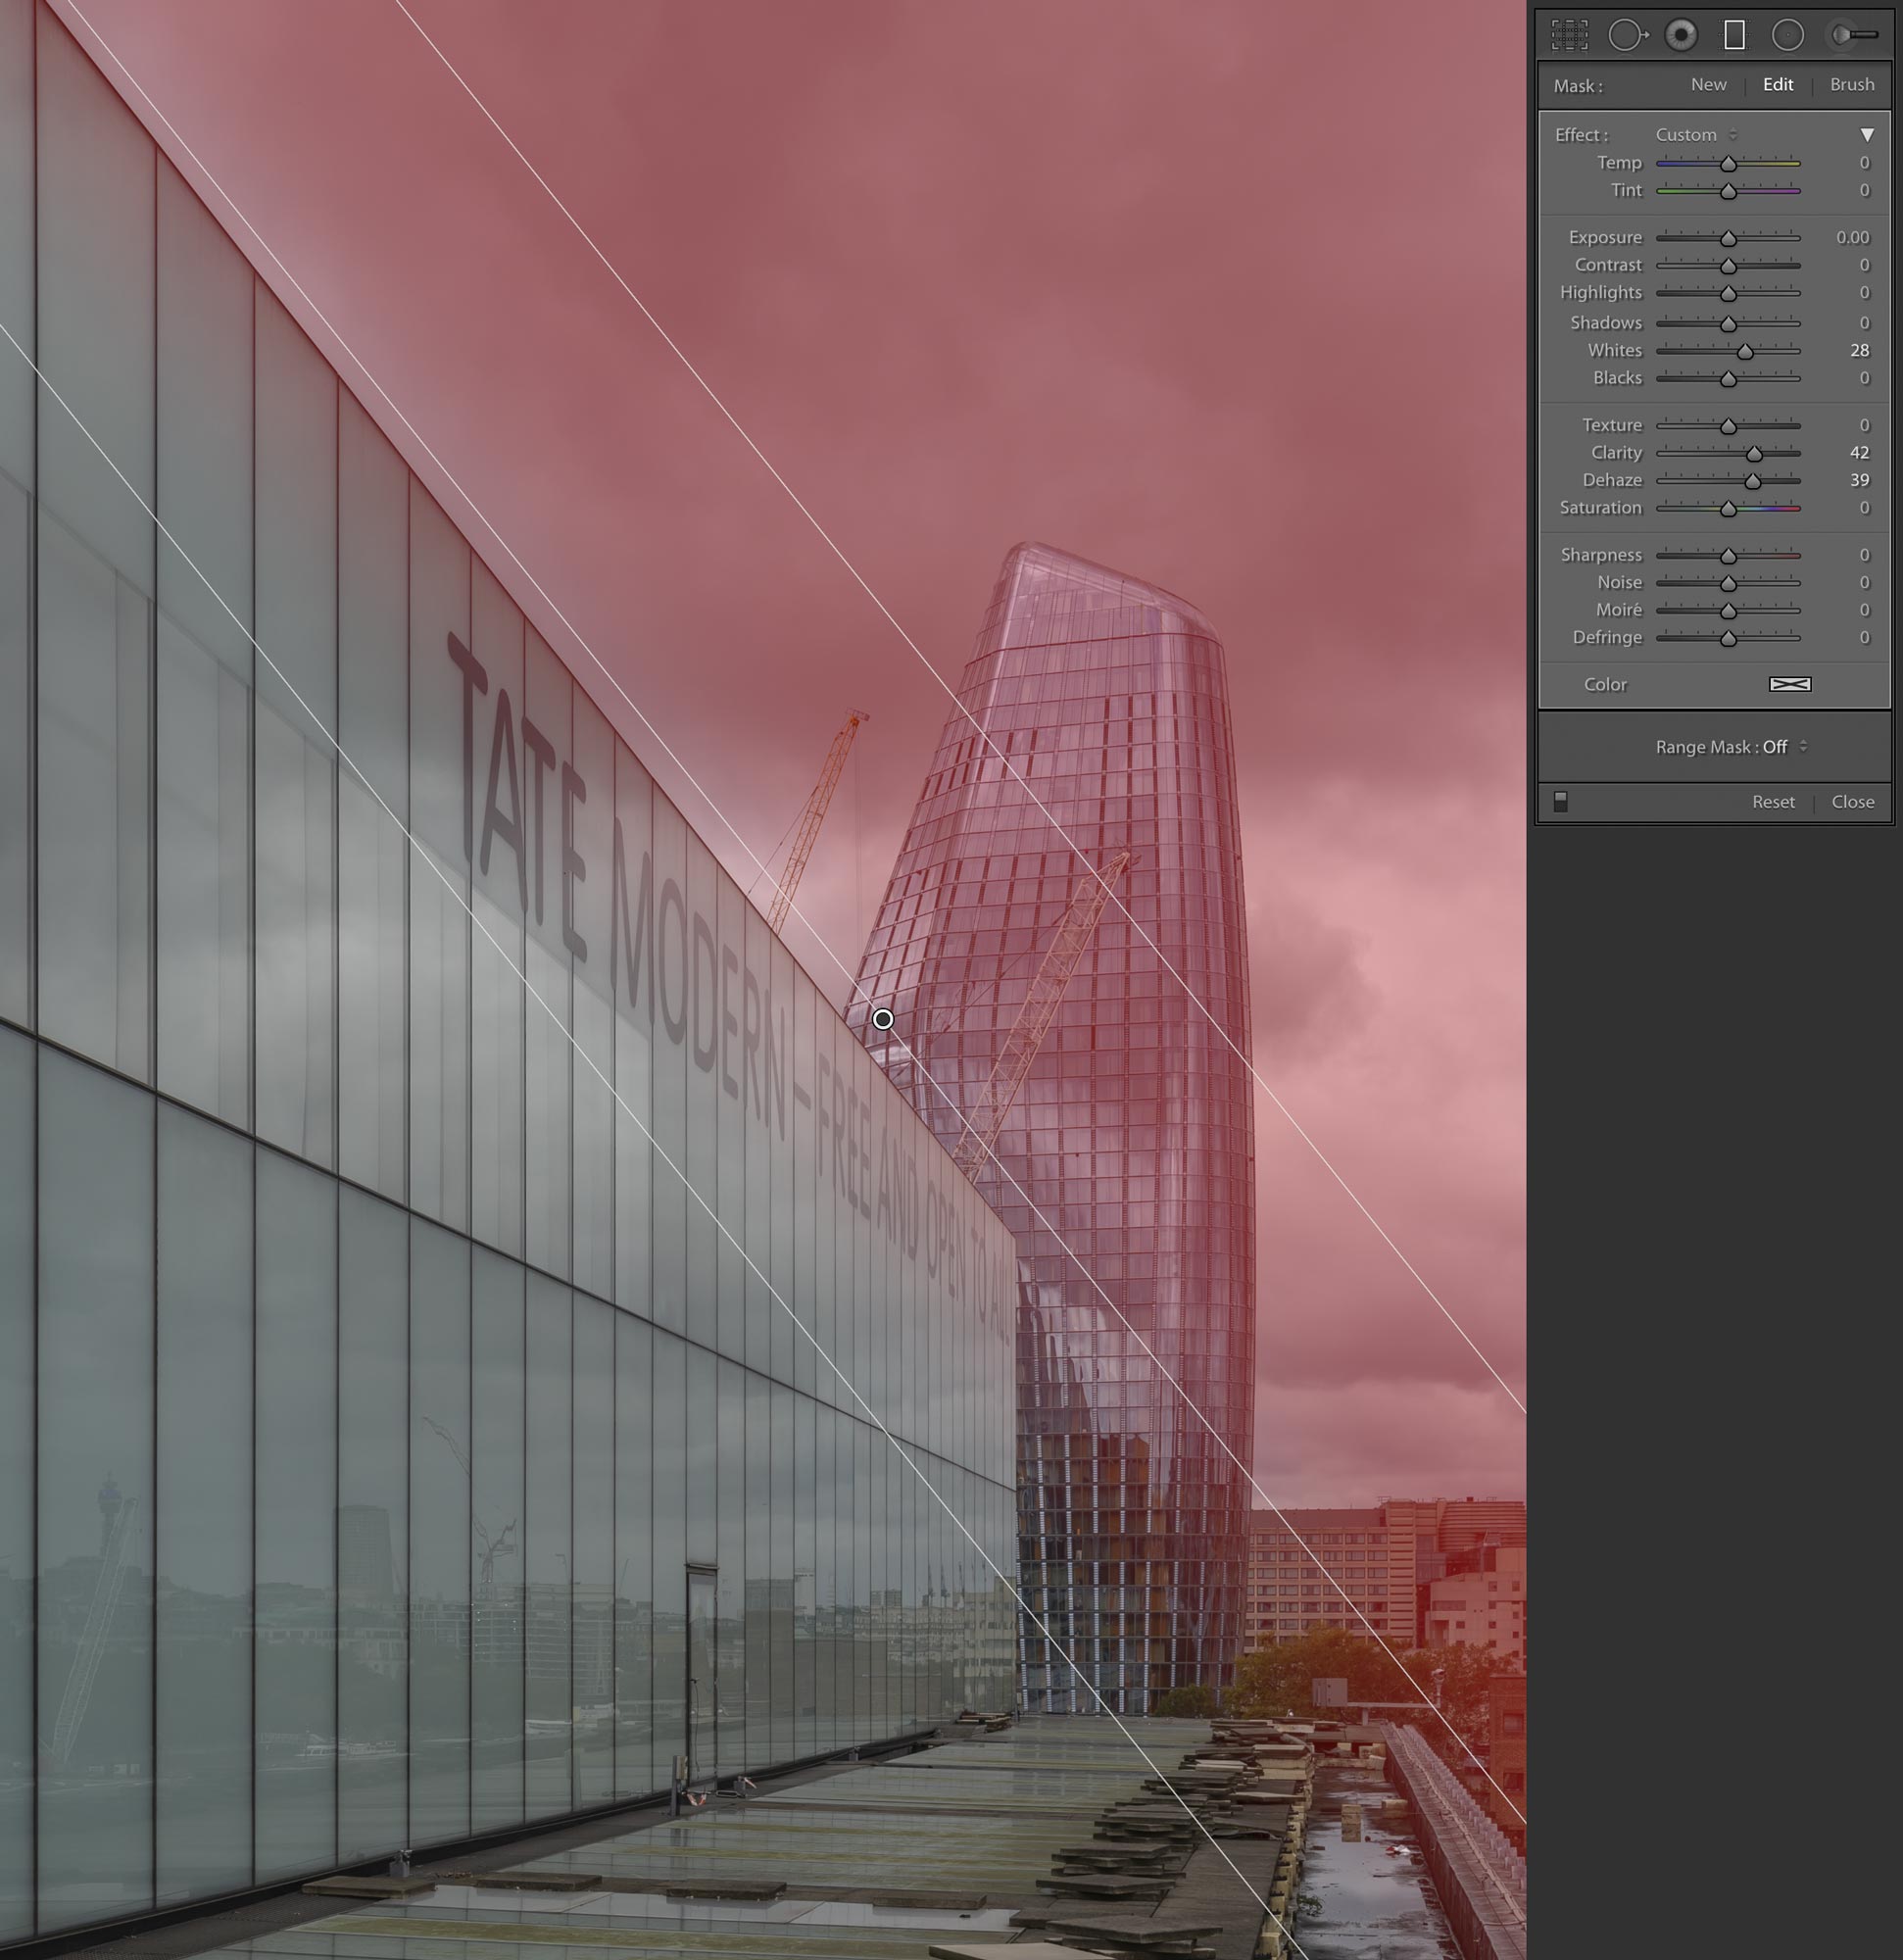
The Dehaze filter darkens the darkest areas even more. Increasing the level of Dehaze, Lightroom darkens adjacent pixels to the first ones. The highest setting dramatically spreads the darkness – some people use this effect on the whole image giving a very distinctive and oppressive look. But for me I think this looks too obvious, so don’t get too carried away Dehazing.
How The Clarity Filter Works
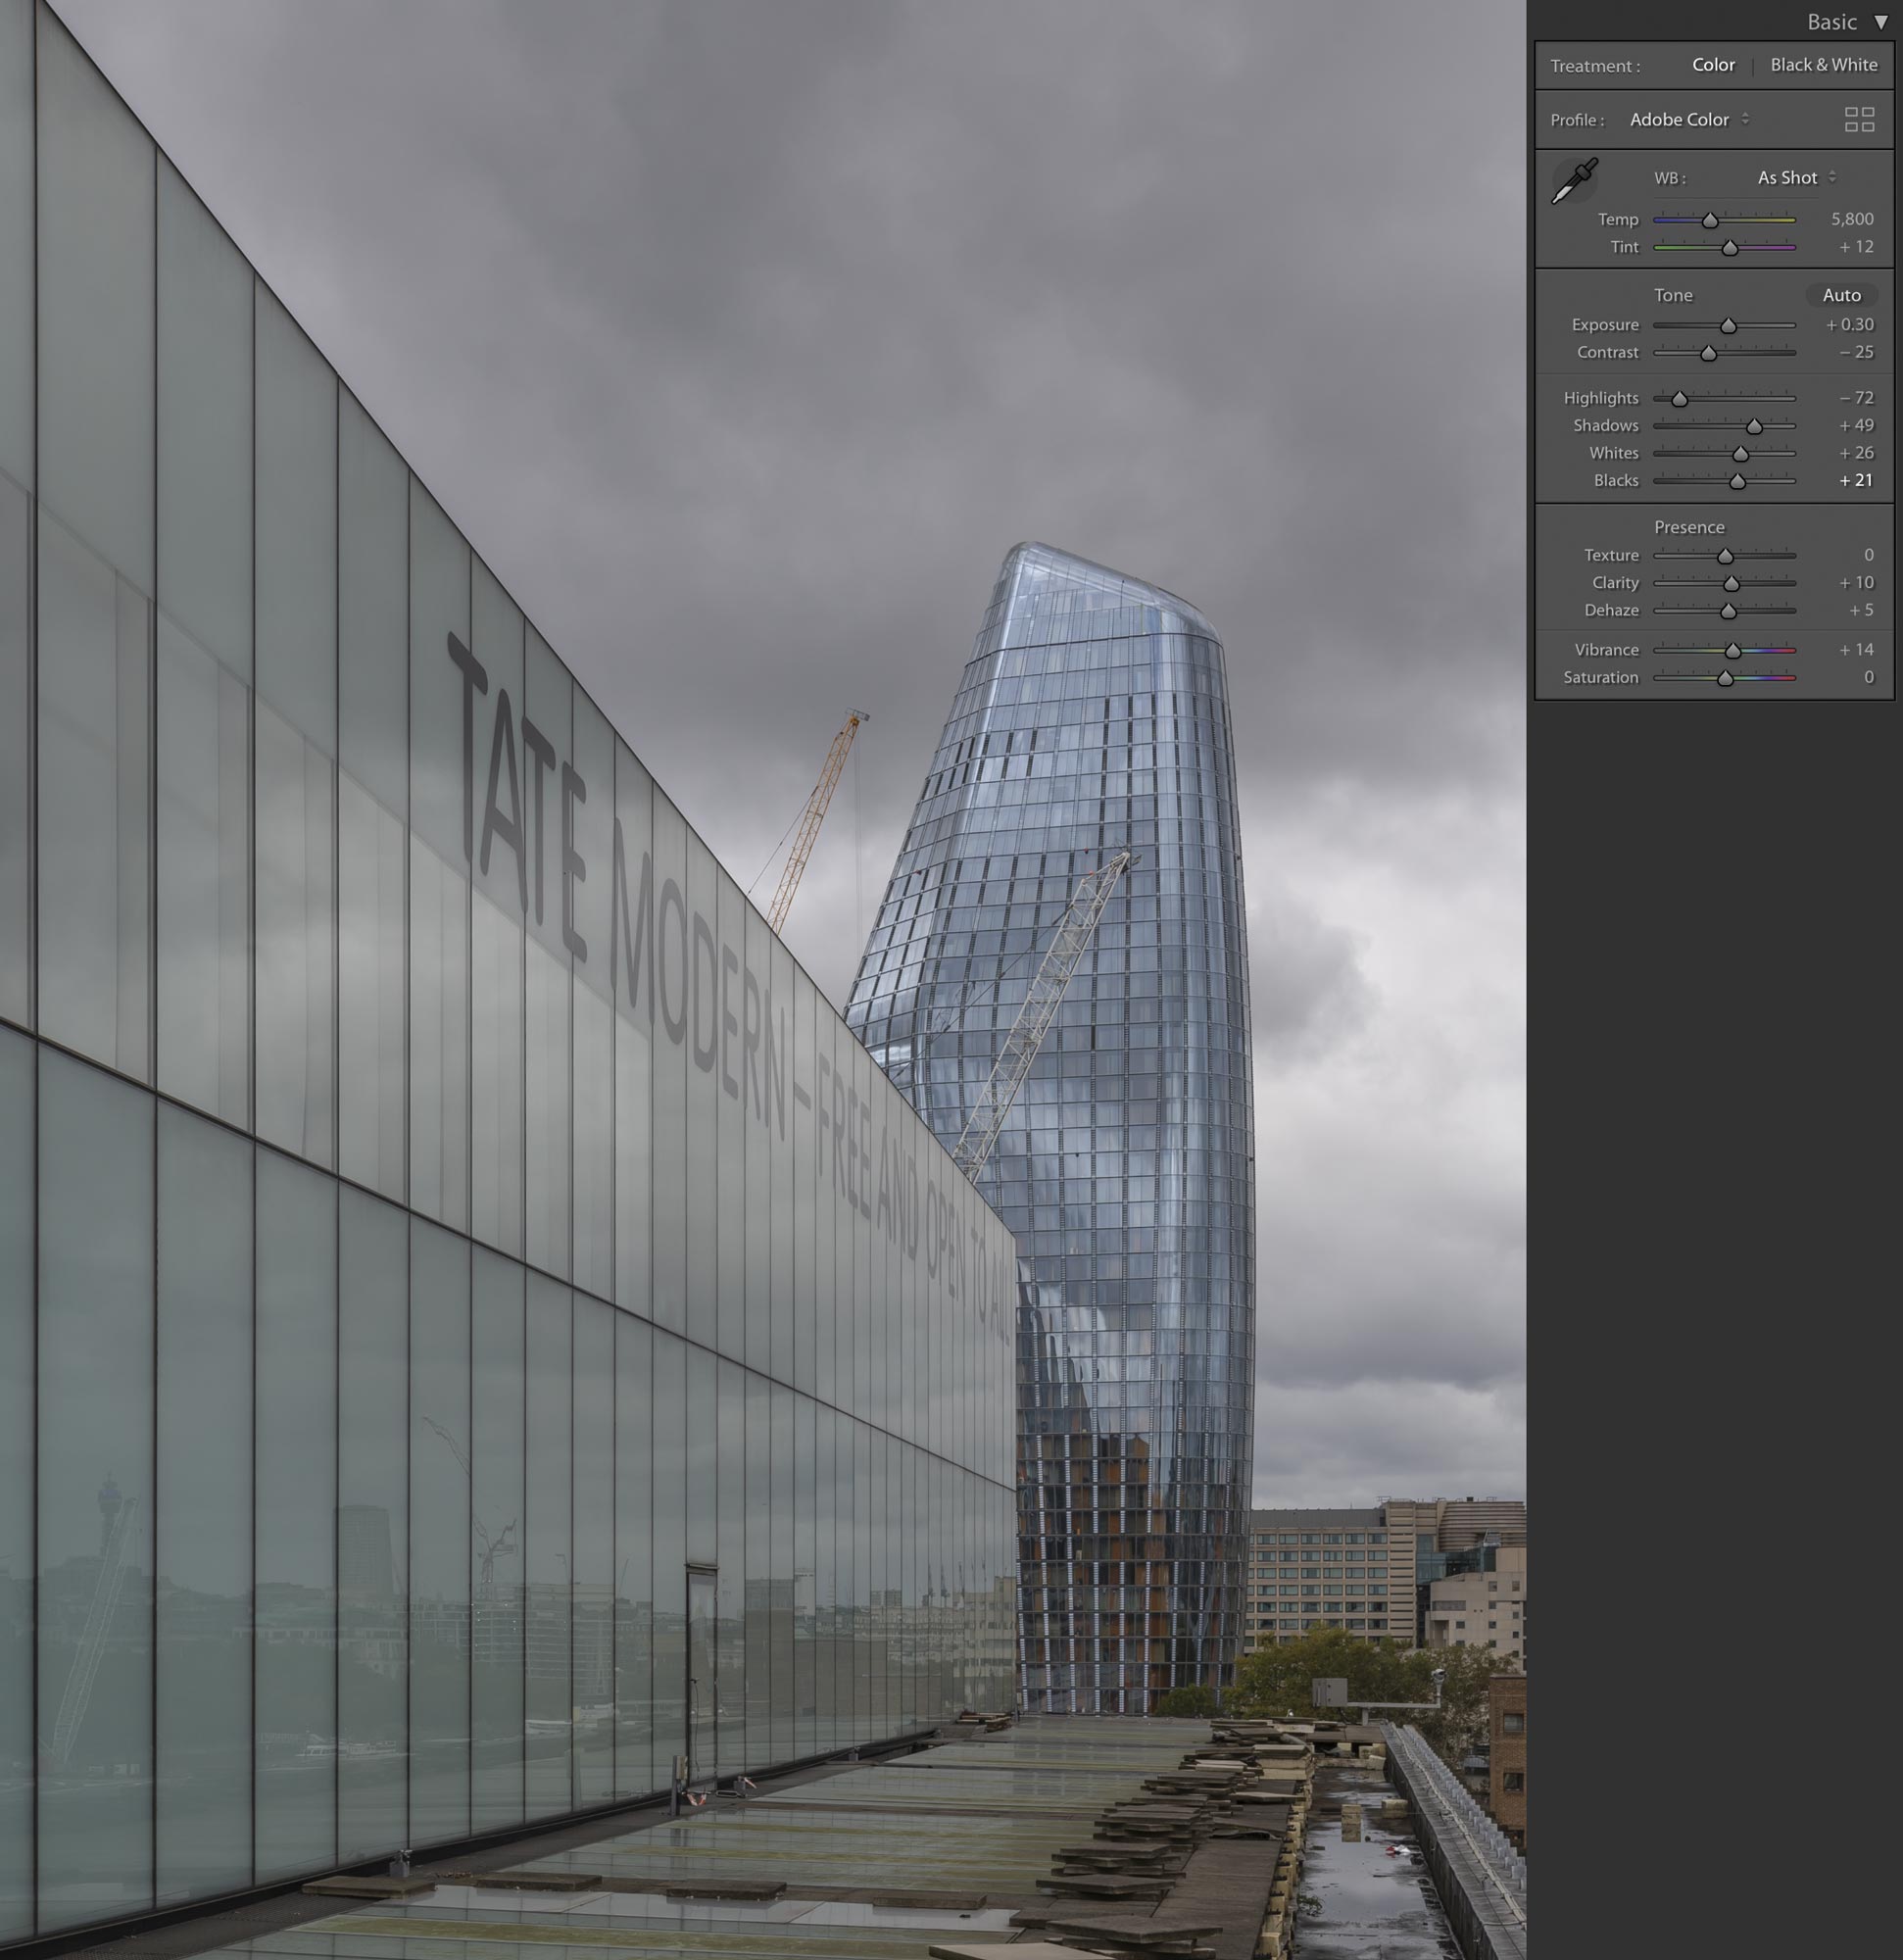
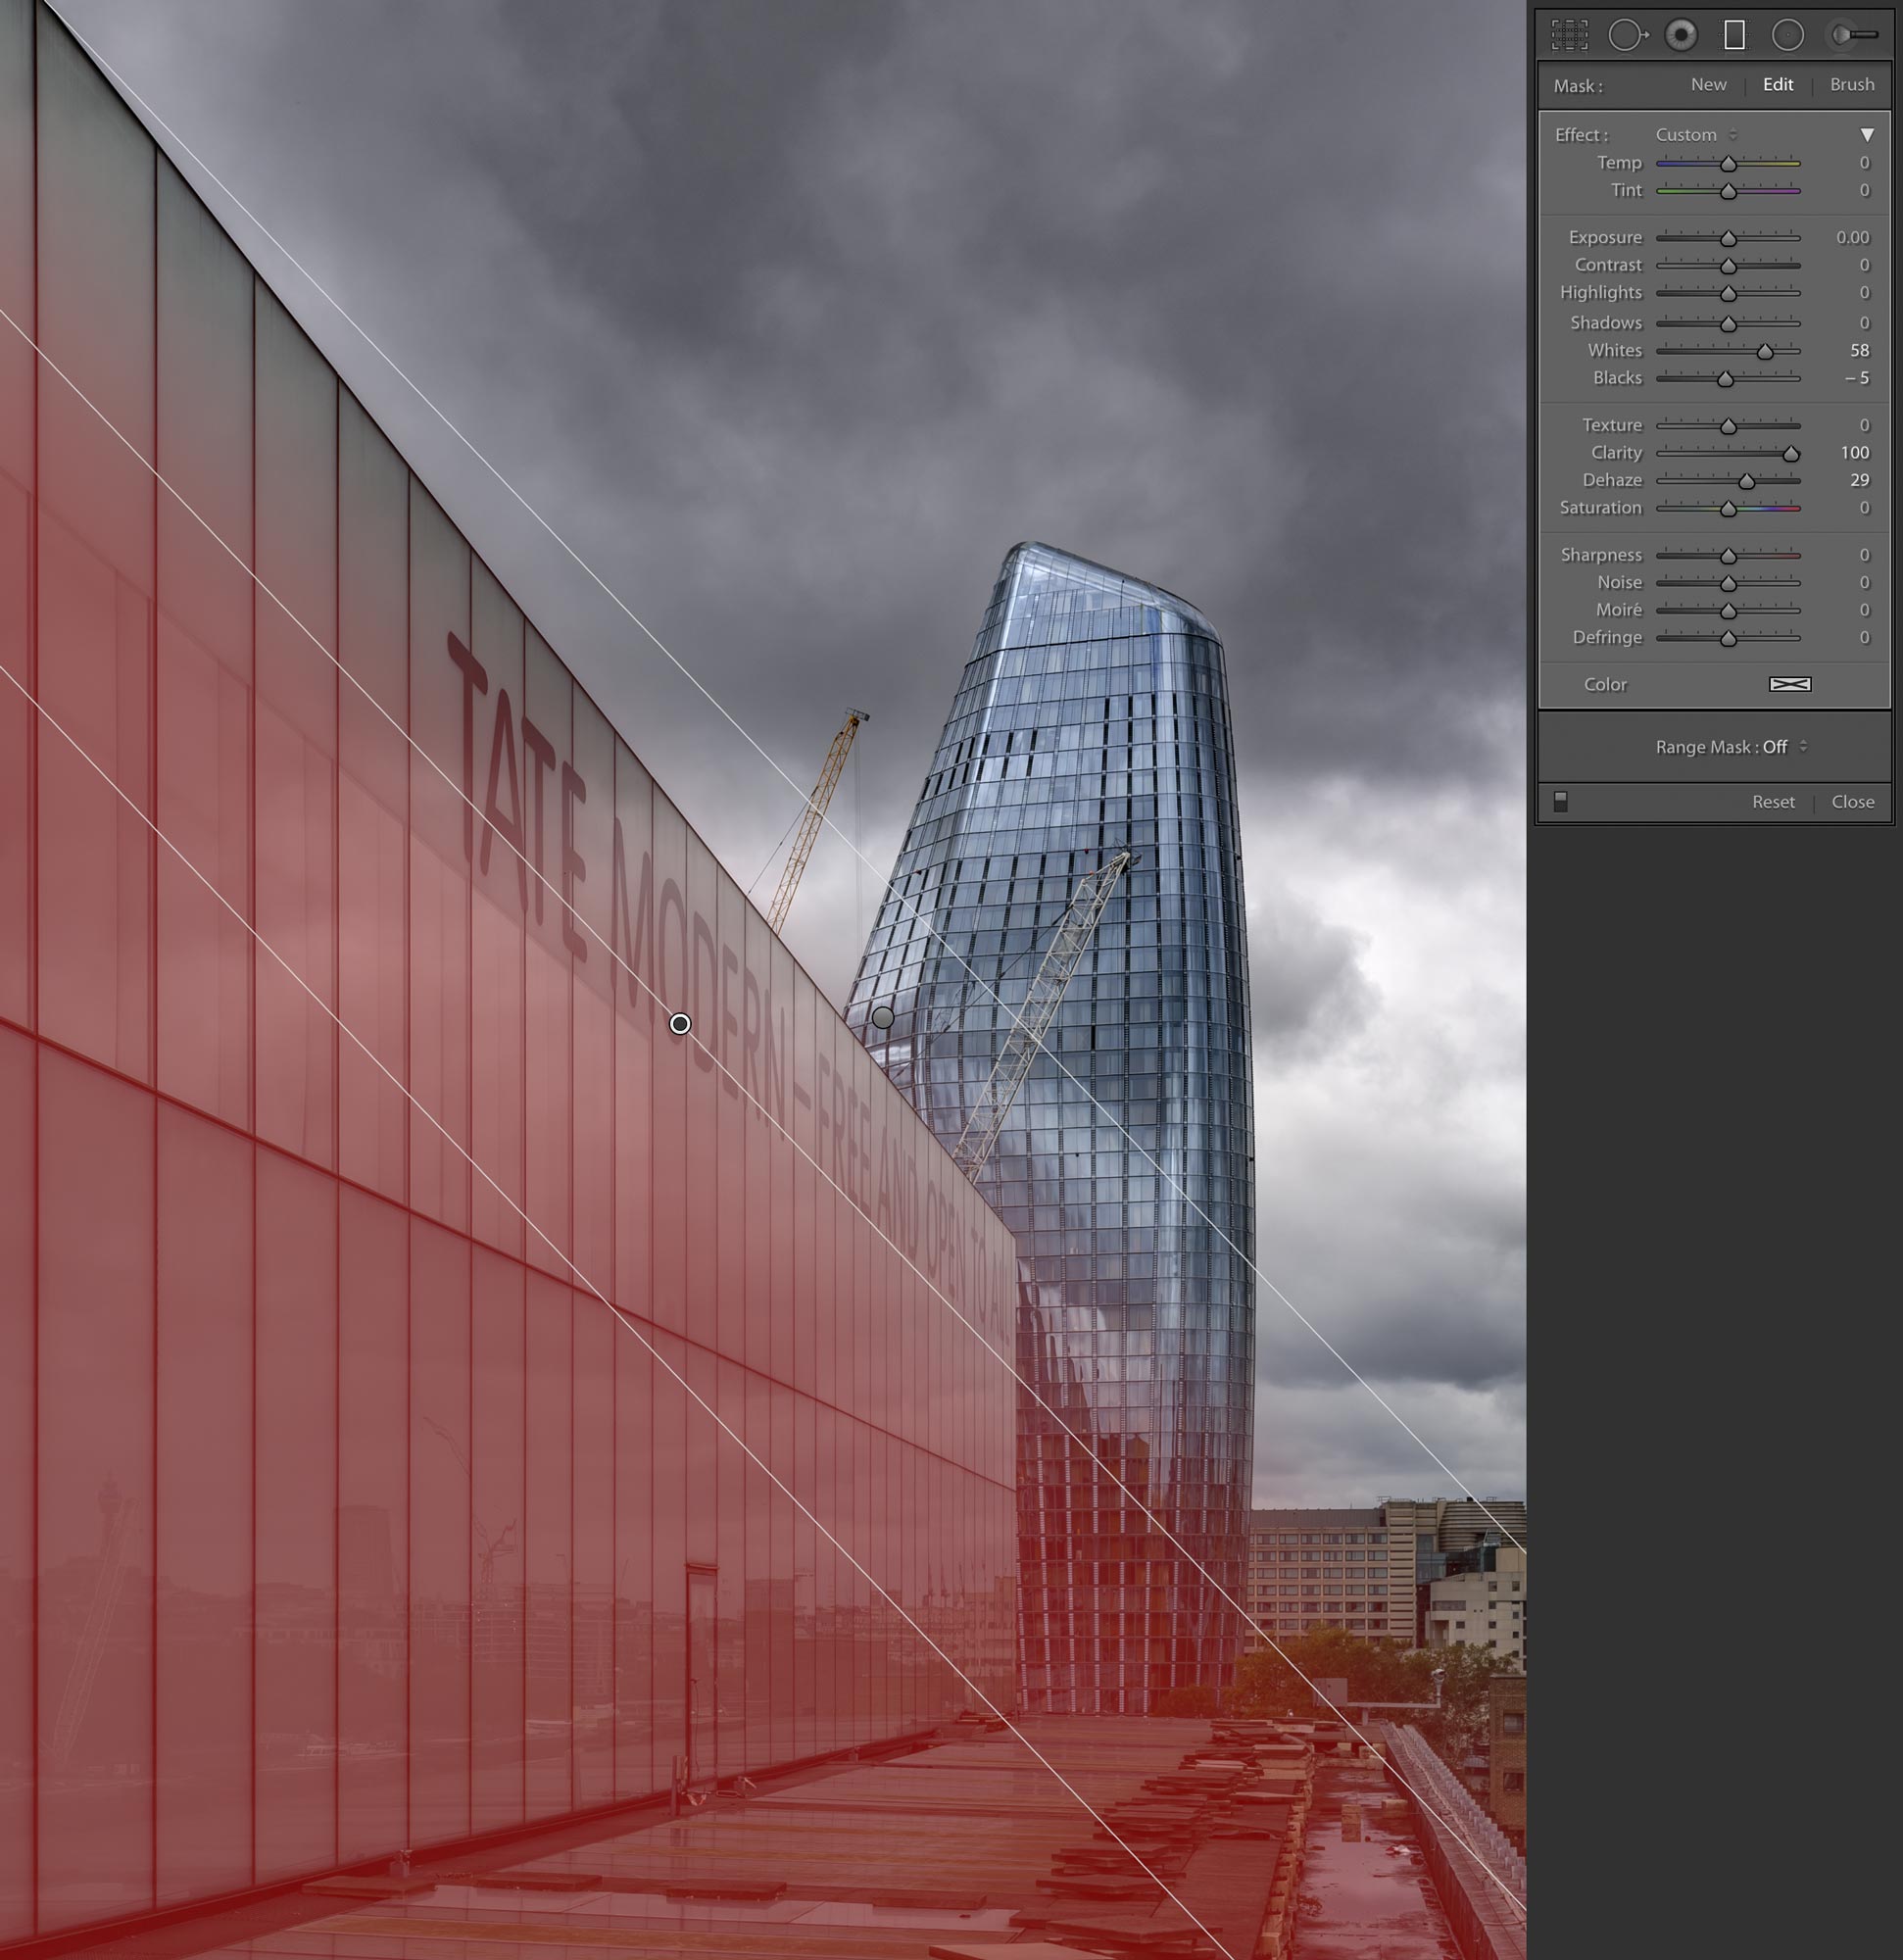
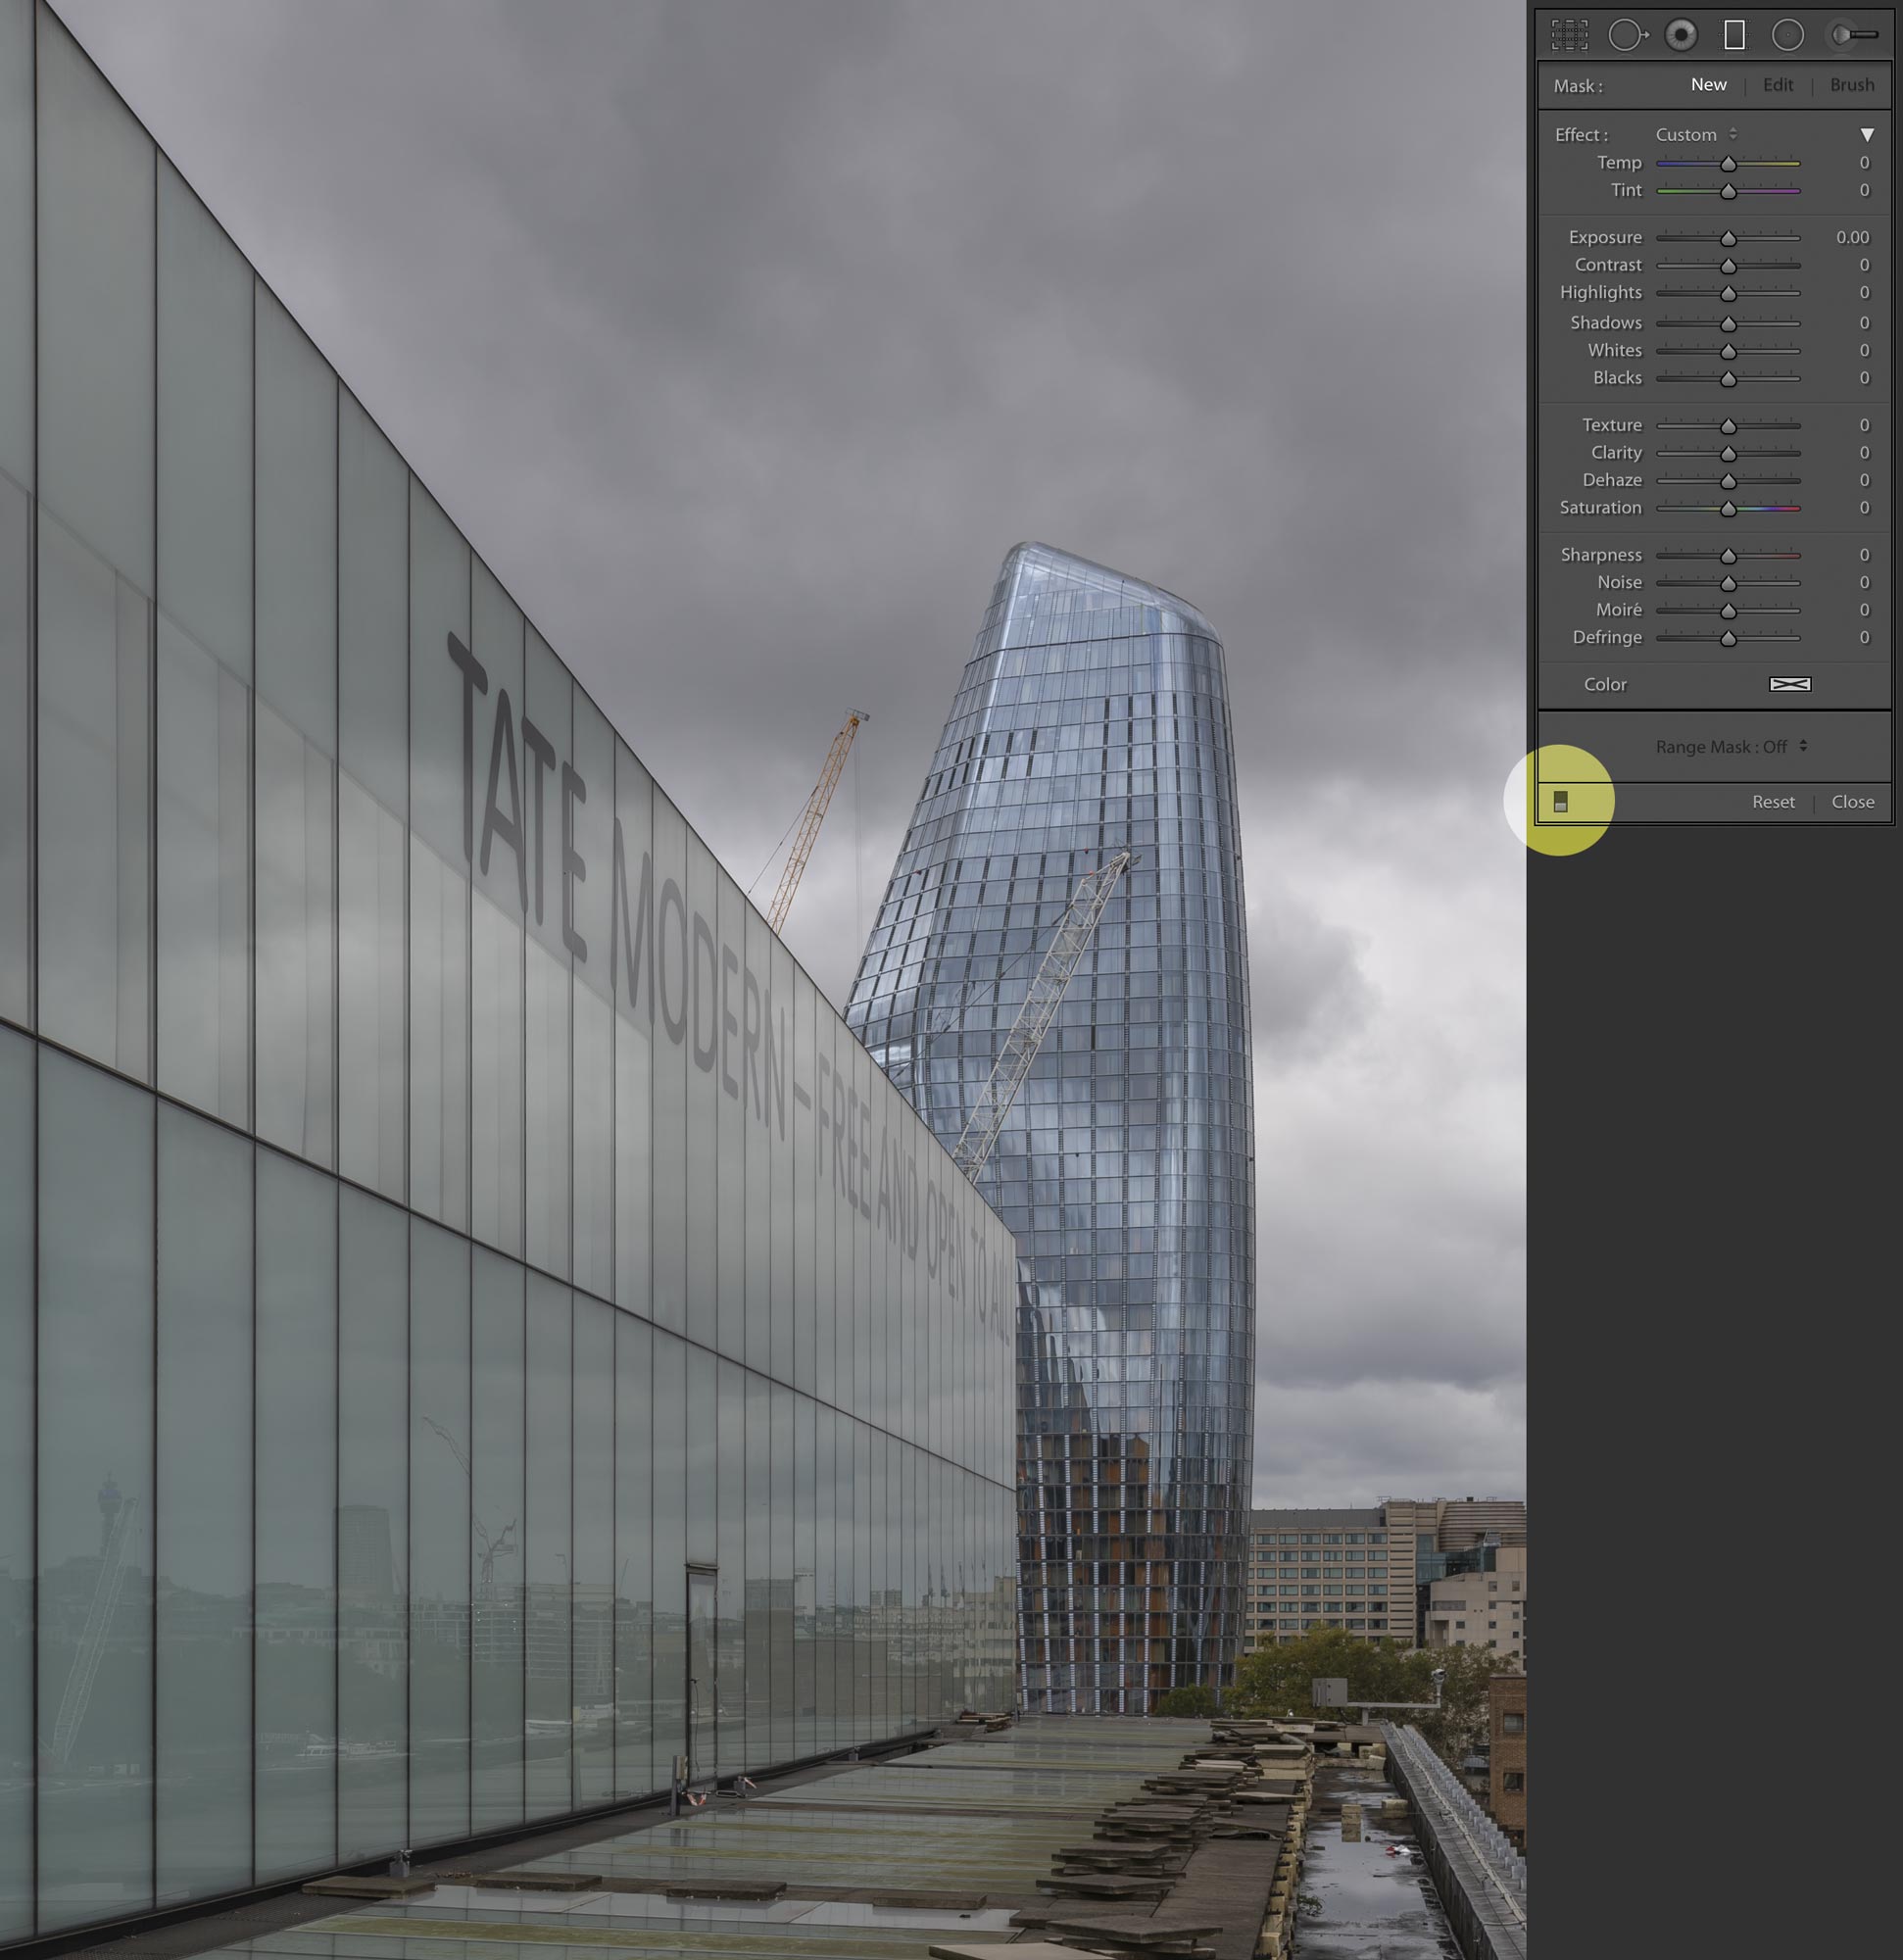
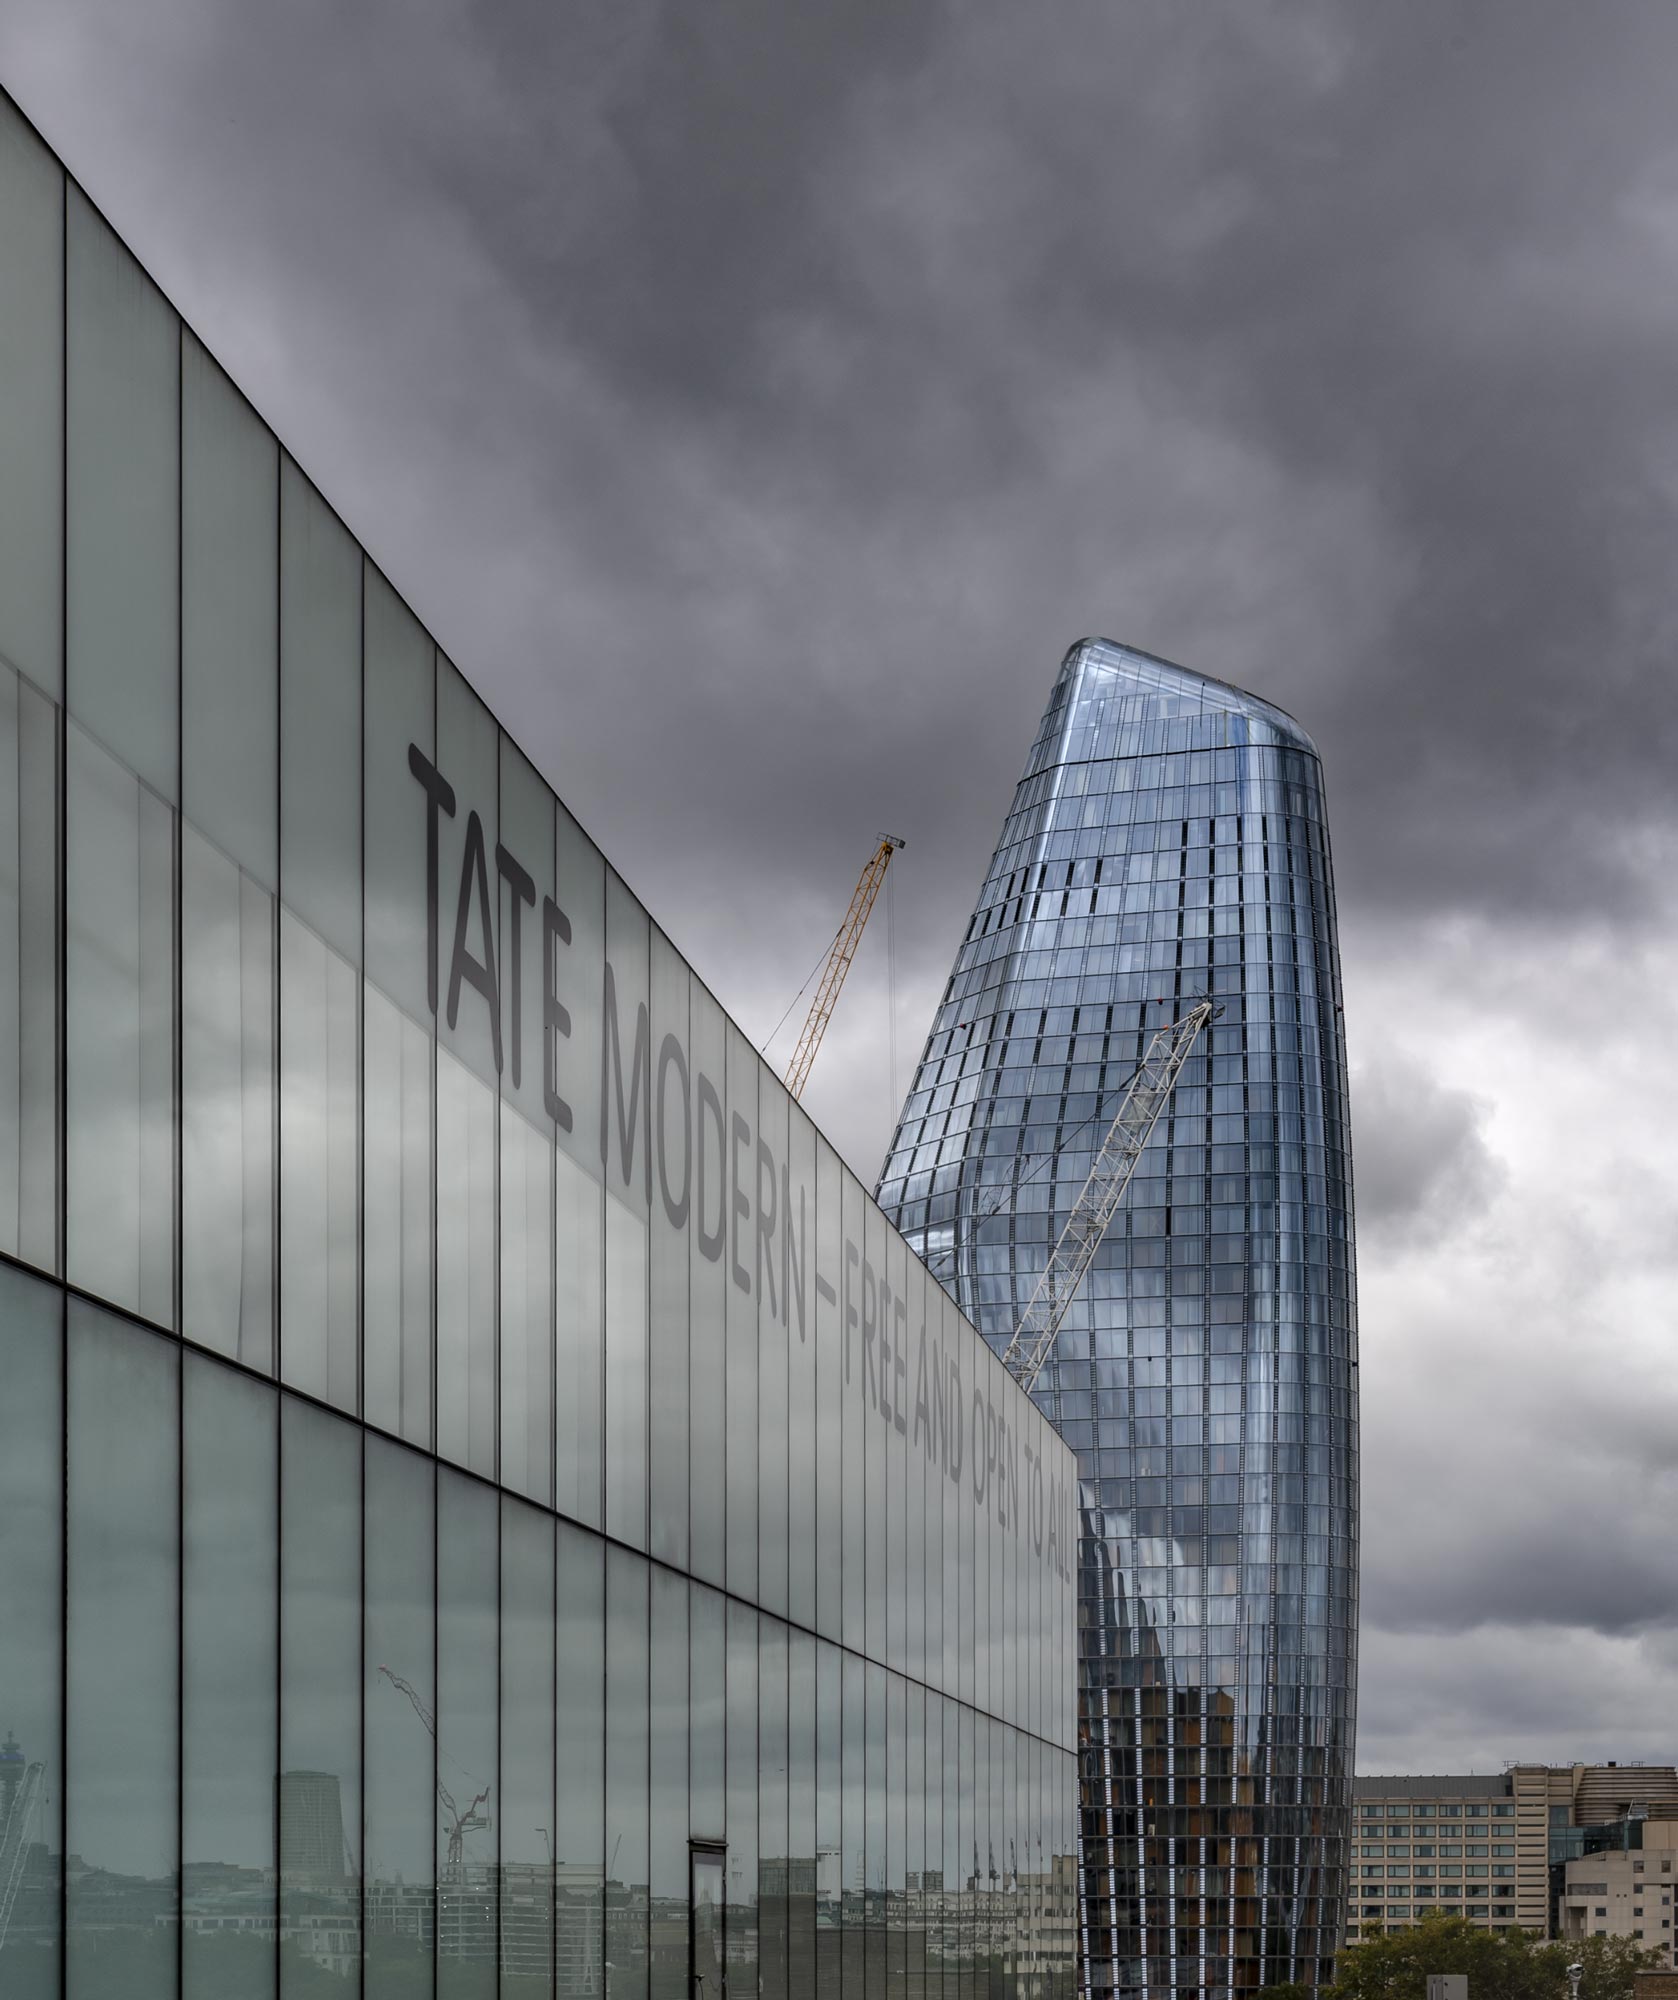
One of my favourite graduated filters is to increase the clarity making the whites brighter and the shadows darker. This has the effect of making an object appear much more shiny. Here I have used the effect on Tate Modern on the left plus a different one on the tall building – One Blackfriars on London’s Southbank.
There are perhaps two points to bare in mind before doing any photomanipulation like this…
- Always keep a backup. In Lightroom it is possible to create a clone of the image to experiment on.
- Don’t overdo it! Personally I prefer images to look as if nothing has been done. If you feel the need to crank up all the settings, do it on a cloned image so the realistic one can be kept safe.



 Colin Walton at WaltonCreative.com